
5 Steps for Easy Window Glass Repair: How to Replace Just the Glass
Window glass repair is an essential skill for homeowners when the glass becomes cracked, shattered, or damaged over time. Instead of replacing the entire window unit, you can save time and money by simply replacing the glass. In this guide, we’ll walk you through 5 easy steps for effective window glass repair that you can do yourself.
Step 1: Assess the Damage and Gather Tools
Before starting your window glass repair, carefully inspect the damage to determine if the frame is intact or if only the glass needs replacement.
- Assessing the Damage: Look for cracks or breaks in the glass and check if the frame is still sturdy. If the frame is damaged, it may require professional help.
- Gather Tools: You’ll need a utility knife, gloves, safety goggles, putty knife, replacement glass, measuring tape, glazing points, and glazing putty.
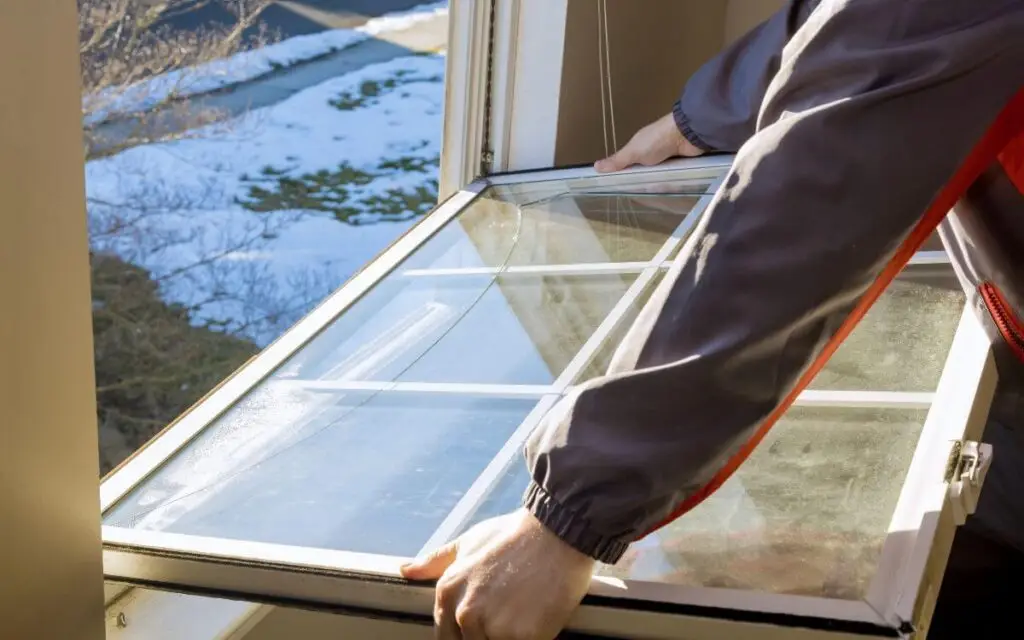
Step 2: Remove the Broken Glass
The next step in window glass repair is safely removing the damaged glass.
- Safety First: Wear gloves and safety goggles to protect yourself from broken glass.
- Remove the Old Glass: Use a utility knife to carefully cut away any old caulking or sealant around the glass. Once loosened, gently remove the glass from the frame.
- Dispose of the Broken Glass: Properly dispose of the glass shards by wrapping them in newspaper or placing them in a box to prevent injury.
Step 3: Measure and Cut Replacement Glass
Accurate measurements are crucial for a successful window glass repair.
- Measure the Frame: Use a measuring tape to determine the dimensions of the window frame. Measure both the height and width, and subtract 1/8 inch to ensure the glass fits snugly without being too tight.
- Cut the Glass: If you’re cutting the glass yourself, use a glass cutter. Alternatively, most hardware stores can cut the glass for you based on your measurements.
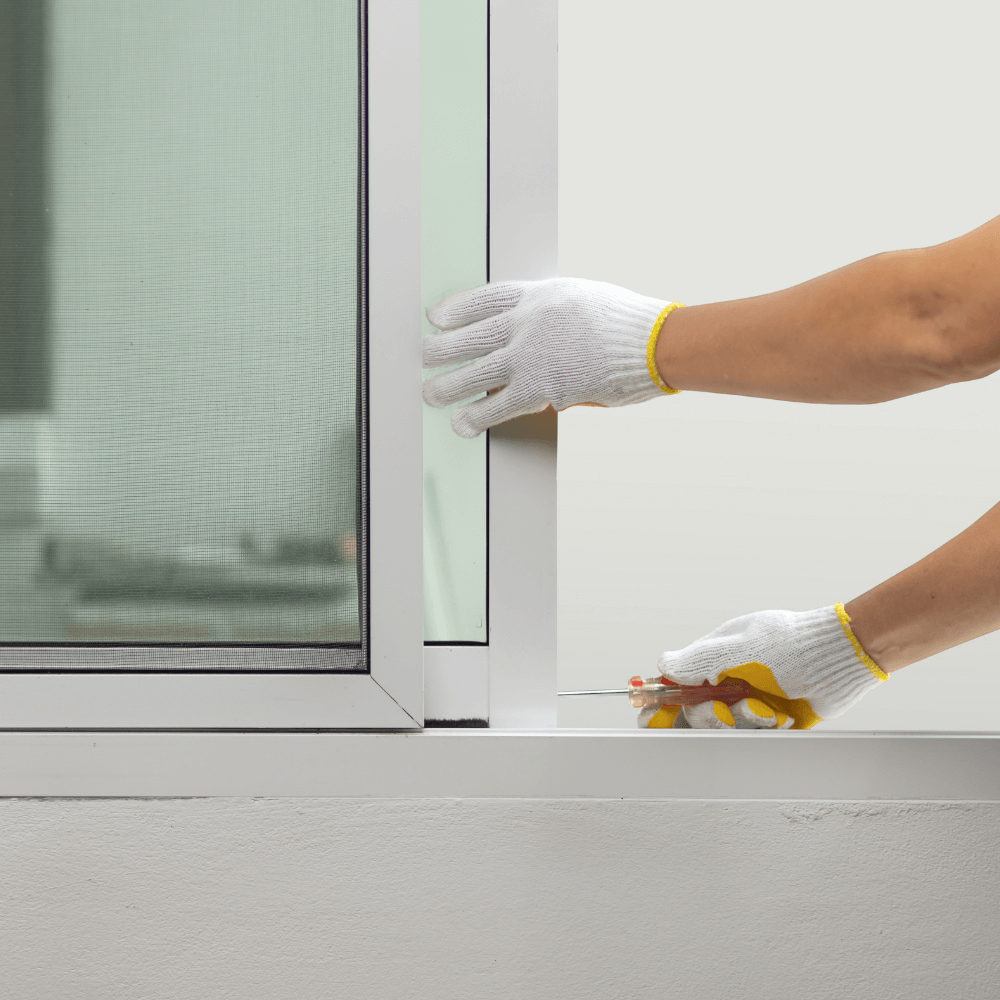
Step 4: Install the New Glass
Once the replacement glass is ready, the installation process is straightforward.
- Apply Glazing Putty: Roll glazing putty into thin ropes and press it into the window frame where the glass will sit. This will secure the glass and create a seal to prevent drafts.
- Set the Glass in Place: Carefully place the new glass into the frame, pressing it against the putty. Use glazing points to secure the glass along the edges.
- Seal the Edges: Apply additional putty along the edges of the glass, smoothing it out with a putty knife for a clean finish.
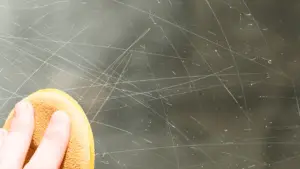
Step 5: Let the Putty Cure and Clean the Glass
After installing the new glass, allow time for the putty to set.
- Let the Putty Dry: The glazing putty needs about a week to fully cure. Avoid touching or moving the glass during this time to ensure a proper seal.
- Clean the Glass: Once the putty has dried, clean the window with a glass cleaner to remove any smudges or fingerprints from the repair process.
Tips for Successful Window Glass Repair
To ensure your window glass repair is successful, follow these additional tips:
- Choose the Right Glass: When purchasing replacement glass, consider the thickness and type of glass needed. Double-pane glass and tempered glass may require professional installation.
- Handle Glass with Care: Always handle glass gently, especially when cutting or setting it in place, to avoid cracks or breakage during the repair.
- Maintain Your Windows: After the repair, regularly check the condition of the window frames and seals to prevent future damage.
When to Call a Professional for Window Glass Repair
While DIY window glass repair is manageable for many, there are instances where professional help may be necessary.
- Large or Custom Windows: For larger or uniquely shaped windows, professional services are often recommended to ensure precision and safety.
- Double-Pane or Insulated Windows: If you have double-pane or insulated windows, special tools and expertise are required to repair them properly.
- Severe Frame Damage: If the window frame is damaged along with the glass, it’s best to consult a professional to avoid structural issues.
Conclusion
Window glass repair is a straightforward process that can be done at home with the right tools and care. By following these 5 easy steps, you can save money and restore the clarity and function of your windows in no time.